26 locks, from the date wheel near the start to the alarm panels near the end, each listed with the note or screen that holds its answer. Look at that first if you would rather solve it yourself; the number is there when you need it.
22codes printed identically by two independent guides
4printed by one guide only, marked in the list
8in one chapter of Clara Woods, the densest stretch
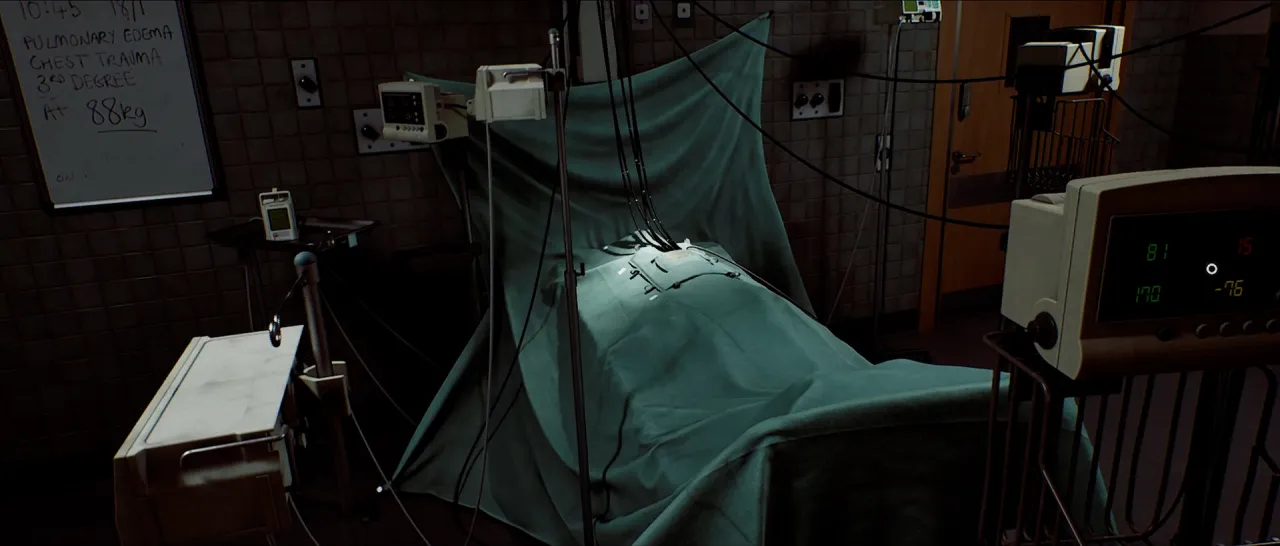
A hospital room: monitors, a bed under a green sheet and a whiteboard. Screenshot from the game's Steam store page. Owned by Screen Burn, KONAMI and Annapurna Interactive.
Find a code
All 26 codes, in the order you reach them.
18 · January · 19962 guides agree
Three-wheel date lock · Part 1, chapter 2
The door with a date wheel, in the otherworld at the start
Where the answer is: The room service card and a broadcast on CRTV channel 60. Inside: a room key in the bathroom beyond.
956 left · 133 right2 guides agree
Organ transport box, two dials · Part 1, chapter 3
Zoe's house, kitchen
Where the answer is: An email on the house computer and the organ transplant card. Inside: Zoe's lanyard.
28962 guides agree
Door keypad · Part 1, chapter 4
Shorefront Family Clinic, reception door
Where the answer is: A sticky note that was on the clinic computer.
65392 guides agree
Rusty locker · Part 1, chapter 4
Pharmacy, back room
Where the answer is: Numbered posters around the pharmacy, read in the order the CRTV broadcast shows them. Inside: a prescription dosage error note.
19932 guides agree
Shed padlock · Part 2, chapter 5
Community gardens
Where the answer is: The year on the flower bed with a name plaque. Inside: the community garden key.
496 0556, then 3 · 2 · 2 · 11 guide
Phone number, then a menu · Part 2, chapter 5
Phone booth down the street from the medical centre
Where the answer is: A security note in the window of the booth outside the medical centre.
71031 guide
Door keypad · Part 3, chapter 7
Medical centre, surgery
Where the answer is: The number that arrives on the pager.
26052 guides agree
Door keypad · Part 3, chapter 7
Medical centre, records room on the ward's ground floor
Where the answer is: A clue found on the floor above.
7722 guides agree
Lost and found locker · Part 4, chapter 10
Clara Woods, CEG employee lockers, back office
Where the answer is: A note on the office computer. Inside: a house key.
1842 guides agree
Locker 75 · Part 4, chapter 10
Clara Woods, CEG employee lockers
Where the answer is: Scan its barcode at the lockers' barcode scanner to print the PIN. Inside: the flare gun.
9562 guides agree
Safe beside the computer · Part 4, chapter 10
Clara Woods, 5 South Brae, upstairs
Where the answer is: A part number on a printout from the house printer. Inside: the barcode for locker 17.
5752 guides agree
Locker 17 · Part 4, chapter 10
Clara Woods, CEG employee lockers
Where the answer is: Scan the South Brae barcode at the scanner. Inside: bolt cutters and a mechanical part.
7362 guides agree
Safe on a table · Part 4, chapter 10
Clara Woods, 6 North Brae, upstairs
Where the answer is: A poem that points to how many of each object the paintings in the house show. Inside: the barcode for locker 204.
1292 guides agree
Safe on a table · Part 4, chapter 10
Clara Woods, 5 Upper Brae, upstairs
Where the answer is: A count file read from a disk on the house computer, with the tape switched to Today. Inside: the barcode for locker 94.
9712 guides agree
Locker 204 · Part 4, chapter 10
Clara Woods, CEG employee lockers
Where the answer is: Scan the North Brae barcode at the scanner. Inside: a mechanical part.
4902 guides agree
Locker 94 · Part 4, chapter 10
Clara Woods, CEG employee lockers
Where the answer is: Scan the Upper Brae barcode at the scanner. Inside: a mechanical part.
48952 guides agree
Door keypad · Part 4, chapter 11
CEG HQ, ground floor security room
Where the answer is: A whiteboard in the maintenance area.
4862 guides agree
Numbered box · Part 4, chapter 11
CEG HQ, ground floor seating, box 36
Where the answer is: Box 36 is three rows up from the podium, seven boxes along.
000078205182 guides agree
Employee ID field · Part 4, chapter 11
CEG HQ, employee database computer
Where the answer is: A file inside box 36. Inside: a printed access card.
1472 guides agree
Locker · Part 5, chapter 12
Outside CEG HQ, across the room from the computer
27092 guides agree
Card scanner, then keypad · Part 5, chapter 13
CEG HQ, third floor, finance area
Where the answer is: A checkout sheet; the access card goes on the scanner first. Inside: a projector lens.
13062 guides agree
Door keypad · Part 5, chapter 13
CEG HQ, second floor, operations storeroom
Where the answer is: A note Richard leaves. Inside: supplies only.
45122 guides agree
Door keypad · Part 5, chapter 13
CEG HQ, first floor, administration storeroom
Where the answer is: A note Richard leaves. Inside: supplies only.
16072 guides agree
Door keypad · Part 5, chapter 13
CEG HQ, third floor, public relations records
Where the answer is: A note Richard leaves. Inside: supplies only.
A5D7, then E3E31 guide
Two alarm panels · Part 6, chapter 14
The altered CEG HQ, alarm panel by the red clamp wheel
Where the answer is: The alarm code and the header of a reference sheet; a controller key unlocks the buttons first.
08251 guide
Locker beside the panel · Part 6, chapter 15
The altered SWDP, beside the control panel
Where the answer is: The panel prints it once its switches and the filter number are set. Inside: the AUX key.
Not with difficulty. Game Rant’s guide to the settings says “The mechanics and the codes you find will be the same for all difficulties”, and that holds for New Game Plus as well. The puzzle setting only changes how much help you get: on Hinted, “key text and clues are shown in red”. It can be switched at any time under Game Options. Said in Game Rant: difficulty and puzzle settings
Two of the early answers lean on the handheld television: the date wheel takes one of its channels, and the pharmacy posters are read in the order a broadcast shows them. What the device does is on the CRTV page.
The Clara Woods lockers
Chapter 10 holds more codes than any other, and its locker numbers are not written on any note. Each house safe holds a barcode, and the scanner in the employee locker building prints the locker’s number from it.
Barcode comes fromScanner printsLocker and what is inside
On the counter by the scanner
184
Locker 75 the flare gun
5 South Brae safe, 956
575
Locker 17 bolt cutters and a mechanical part
6 North Brae safe, 736
971
Locker 204 a mechanical part
5 Upper Brae safe, 129
490
Locker 94 a mechanical part
Three mechanical parts, from lockers 17, 204 and 94, combine in the inventory into one device: the two discs first, then the cylindrical piece. It opens the strange gate that leads on.
Each safe in a house holds the barcode for one locker; the scanner at the CEG employee lockers turns a barcode into that locker’s number. Original diagram for this site.
Locker 75’s flare gun also matters for a trophy: it is one of seven weapons a single trophy asks you to kill with in one playthrough, listed on the trophies page.
Where these sit in the game
Each code carries its part and chapter. The chapter names are on the chapters page, kept behind a fold there because several give away what happens. There is no chapter select, so a code you skipped is only reachable again from a manual save or a new playthrough; that page also lists which saves the endings need. No chapter select, per PowerPyx: trophy guide and roadmap